말로만 듣던 스벨트 한 번 해보기로 했다!
1. 템플릿 다운로드
react의 CRA(create-react-app)처럼 git의 리포지토리를 클론받는 형식으로 세팅이 완료된 템플릿을 다운받는다.
$ npx degit sveltejs/template [프로젝트명]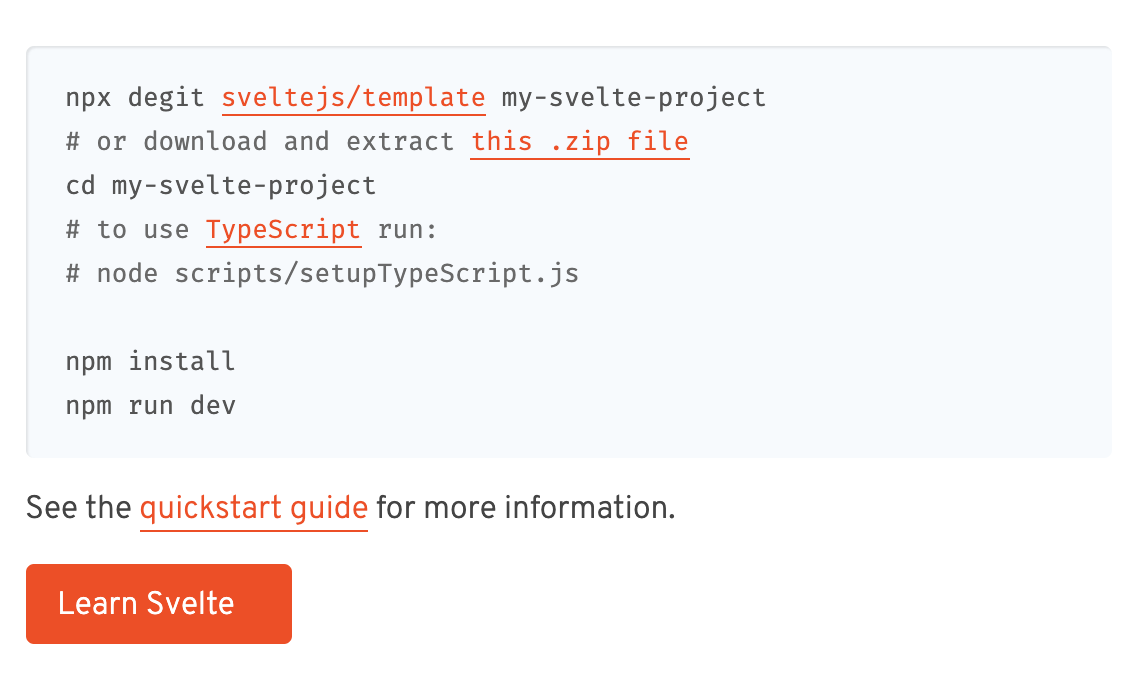
The easiest way to get started with Svelte
The easiest way to get started with Svelte This'll only take a minute. Rich Harris Mon Aug 07 2017 Svelte is a new kind of framework. Rather than putting a tag on the page, or bringing it into your app with import or require, Svelte is a compiler that work
svelte.dev
2. 프로젝트 실행
npm install명령어로 필요한 의존성들을 설치
$ npm install
프로젝트 실행!
$ npm run
localhost:5000포트로 실행된다
3. 수정해보기
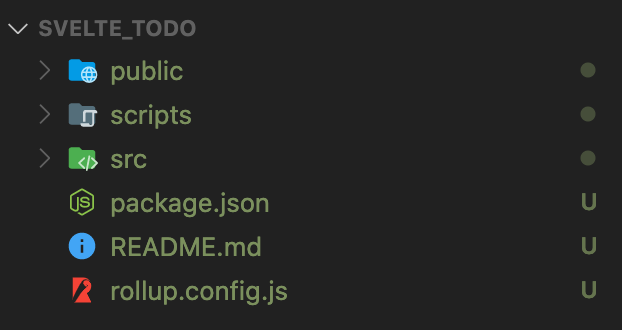
src밑에 App.svelte와 main.js를 수정해보자..
📌target은 이 컴포넌트를 어디에 넣을건지.. document.body처럼 document에서 선택해도 되고, 특정 DOM을 선택해도 된다
📌props는 컴포넌트에 data를 넘겨주는 역할을 한다
아래처럼 name props를 Svelte로 수정한 후 저장하면
import App from "./App.svelte";

const app = new App({
  target: document.body,
  props: {
    name: "Svelte",
  },
});

export default app;
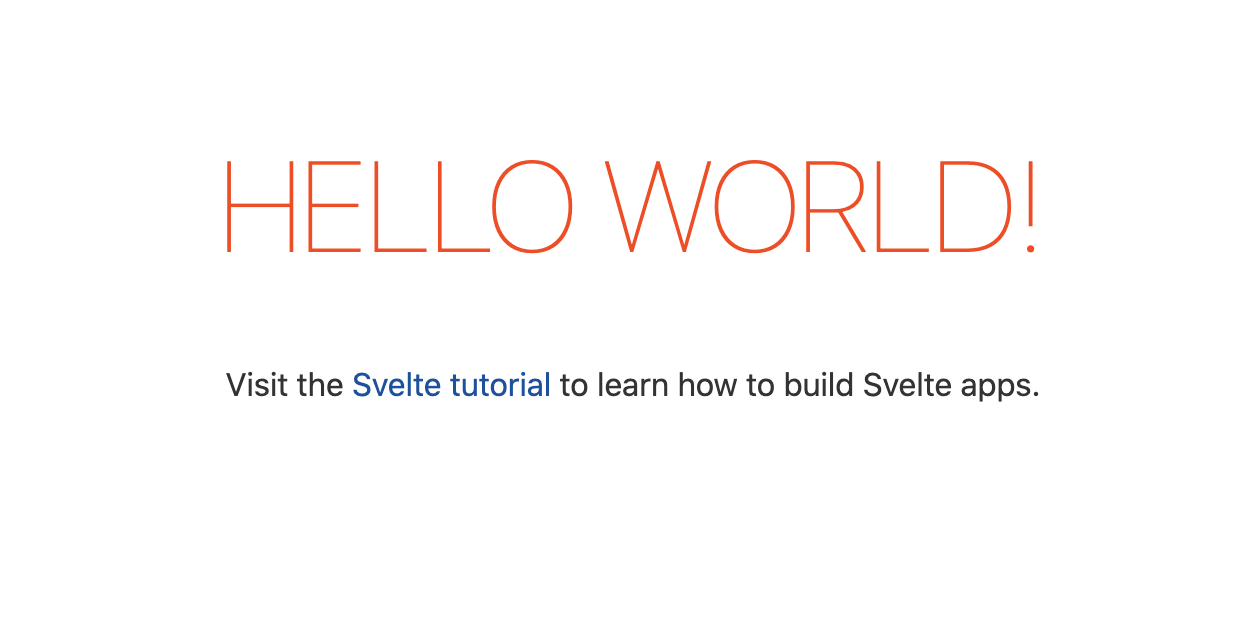
HELLO WORLD에서 HELLO SVELTE로 변경된 것을 확인할 수 있다
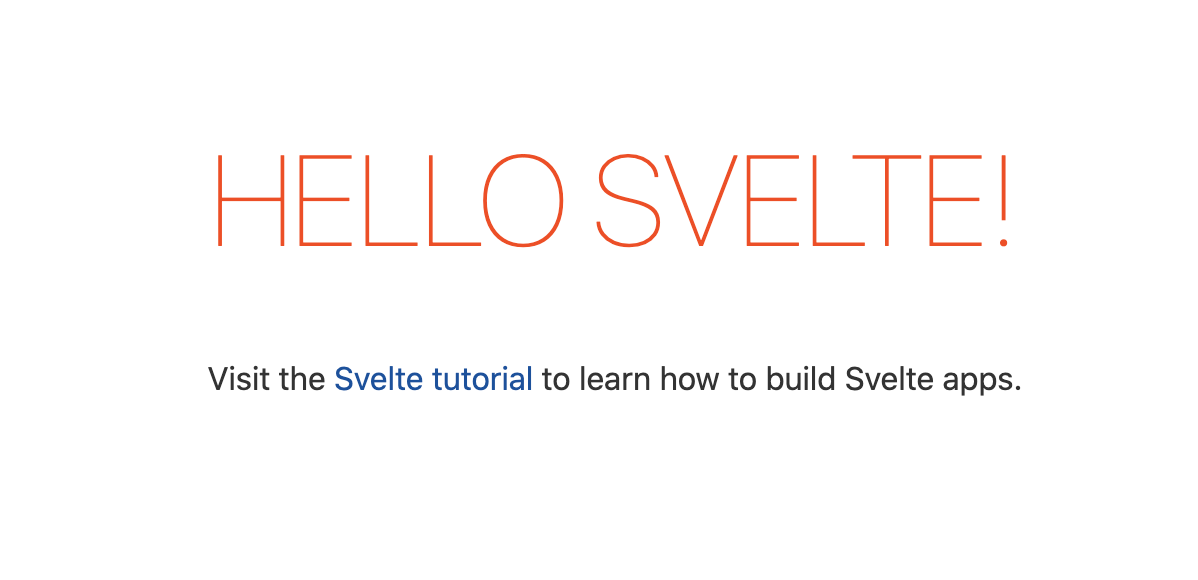
App.svelte에서 name값을 export해줬기 때문에...!
<script>
	export let name ;
</script>
4. 간단하게... 변수 값 수정해보기
on:을 통해 DOM 이벤트를 실행시킨다
<script>
	export let name ;
	export let count = 0;

	const decrement = () => {
		if(count <= 0) {
			return;
		}
		count -= 1;
	}

	const increment = () => {
		count += 1;
	}
</script>

<main>
	<h1>Hello {name}!</h1>
	<div>
		<button on:click={decrement}>-</button>
		<h2>count: {count}</h2>
		<button on:click={increment}>+</button>
	</div>
</main>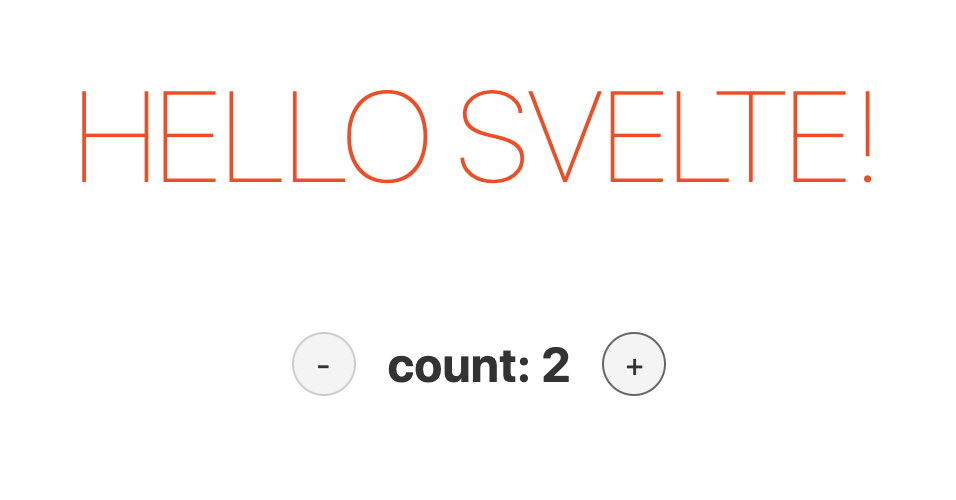
'STUDY > TIL' 카테고리의 다른 글
| Svelte | 스벨트(Svelte)로 TODO LIST 만들기 (2) (0) | 2021.02.03 |
|---|---|
| Svelte | 스벨트(Svelte)로 TODO LIST 만들기 (1) (0) | 2021.02.03 |
| S3와 CloudFront (0) | 2020.12.15 |
| Public API로 GraphQL 경험해보기 (0) | 2020.09.28 |
| GraphQL (2) | 2020.09.25 |


