1. gradle 설정
dependencies {
	implementation 'org.springframework.boot:spring-boot-starter-thymeleaf'
	implementation 'org.springframework.boot:spring-boot-starter-web'
	compileOnly 'org.projectlombok:lombok'
	annotationProcessor 'org.projectlombok:lombok'

	// AWS s3
	// https://mvnrepository.com/artifact/org.springframework.cloud/spring-cloud-starter-aws
	compile group: 'org.springframework.cloud', name: 'spring-cloud-starter-aws', version: '2.2.1.RELEASE'

	testImplementation 'org.springframework.boot:spring-boot-starter-test'
}
External Libraries를 확인해보니 잘 추가되어있음

2. aws s3 정보 yml에 추가
- bucket: 버킷 명
- region: 서울은 ap-northeast-2임
- accessKey, secretKey: aws콘솔에 로그인하여 얻을 수 있음
- gitignore설정 잊지 말기
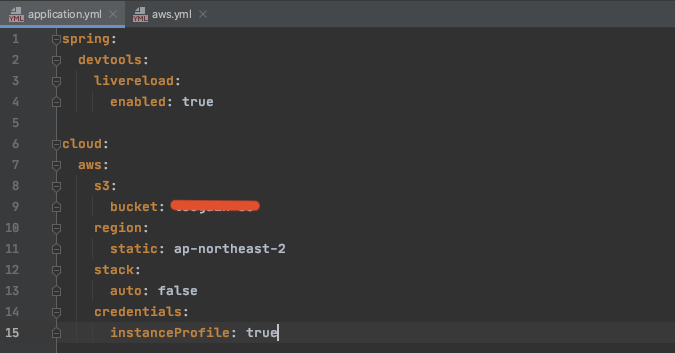
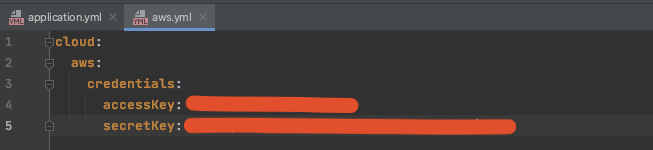
yml에 등록된 정보를 기반으로 autoconfig된다고 함
3. 파일 올리는 기능을 처리할 class작성
- @Value는 lombok이 아님.. import시 주의할 것
- MultipartFile을 받아 File로 변환해 S3에 업로드, File로 변환하는 과정 중 로컬에 생성된 File을 삭제
- 자세한 설명은 참고한 블로그
@Slf4j
@RequiredArgsConstructor    // final 멤버변수가 있으면 생성자 항목에 포함시킴
@Component
public class S3Uploader {

    private final AmazonS3Client amazonS3Client;

    @Value("${cloud.aws.s3.bucket}")
    private String bucket;

    // MultipartFile을 전달받아 File로 전환한 후 S3에 업로드
    public String upload(MultipartFile multipartFile, String dirName) throws IOException {
        File uploadFile = convert(multipartFile)
                .orElseThrow(() -> new IllegalArgumentException("MultipartFile -> File 전환 실패"));
        return upload(uploadFile, dirName);
    }

    private String upload(File uploadFile, String dirName) {
        String fileName = dirName + "/" + uploadFile.getName();
        String uploadImageUrl = putS3(uploadFile, fileName);

        removeNewFile(uploadFile);  // 로컬에 생성된 File 삭제 (MultipartFile -> File 전환 하며 로컬에 파일 생성됨)

        return uploadImageUrl;      // 업로드된 파일의 S3 URL 주소 반환
    }

    private String putS3(File uploadFile, String fileName) {
        amazonS3Client.putObject(
                new PutObjectRequest(bucket, fileName, uploadFile)
                .withCannedAcl(CannedAccessControlList.PublicRead)	// PublicRead 권한으로 업로드 됨
        );
        return amazonS3Client.getUrl(bucket, fileName).toString();
    }

    private void removeNewFile(File targetFile) {
        if(targetFile.delete()) {
            log.info("파일이 삭제되었습니다.");
        }else {
            log.info("파일이 삭제되지 못했습니다.");
        }
    }

    private Optional<File> convert(MultipartFile file) throws  IOException {
        File convertFile = new File(file.getOriginalFilename());
        if(convertFile.createNewFile()) {
            try (FileOutputStream fos = new FileOutputStream(convertFile)) {
                fos.write(file.getBytes());
            }
            return Optional.of(convertFile);
        }
        return Optional.empty();
    }

}
만약 PublicRead권한으로 올리지 않으려면 Private으로 설정해야 함.
이렇게 하면 S3버킷에서 객체 URL을 눌렀을 때 AccessDenied가 뜨고, 오직 CloudFrontURL로 접근가능.
private String putS3(File uploadFile, String fileName) {
amazonS3Client.putObject(
new PutObjectRequest(bucket, fileName, uploadFile).withCannedAcl(CannedAccessControlList.Private)
);
return amazonS3Client.getUrl(bucket, fileName).toString();
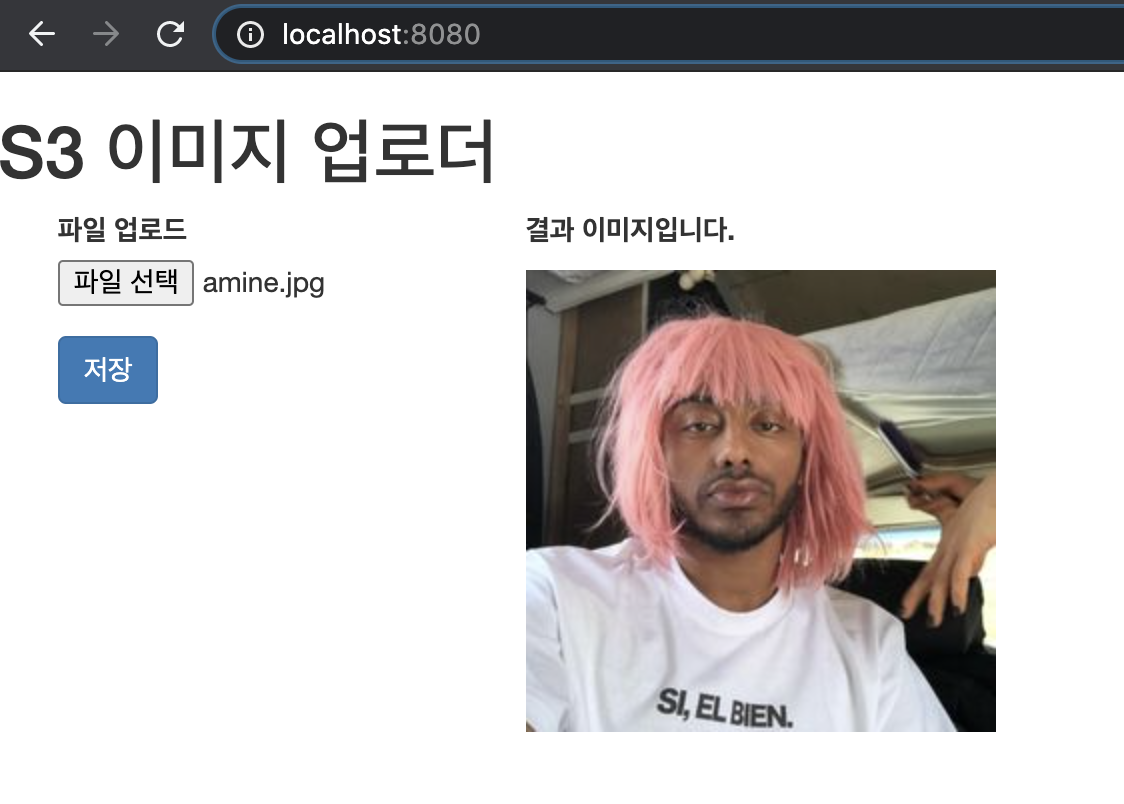
}4. 업로드 해보기
컨트롤러 작성.. 폴더 경로 잘 확인하기...
@Slf4j
@RequiredArgsConstructor
@Controller
public class WebController {

    private final S3Uploader s3Uploader;

    @GetMapping("/")
    public String index() {
        return "index";
    }

    @PostMapping("/upload")
    @ResponseBody
    public String upload(@RequestParam("data") MultipartFile file ) throws IOException {
        log.info("/upload 도착!@");
        return s3Uploader.upload(file, "dev-board");
    }
}
오... 자세한 코드 역시 참고한 블로그

+) 참고
SpringBoot & AWS S3 연동하기
안녕하세요? 이번 시간엔 SpringBoot & AWS S3 연동하기 예제를 진행해보려고 합니다. 모든 코드는 Github에 있기 때문에 함께 보시면 더 이해하기 쉬우실 것 같습니다. (공부한 내용을 정리하는 Github와
jojoldu.tistory.com
'STUDY > Spring' 카테고리의 다른 글
| Spring Boot | Kafka를 이용한 채팅 (1) Kafka설치 및 프로젝트 생성 (1) | 2021.01.12 |
|---|---|
| Spring Boot | S3파일 업로드 후 CloudFront SignedURL 생성하기 (0) | 2020.12.24 |
| Spring Boot | 스케쥴러(Scheduler) 사용해보기 (0) | 2020.12.21 |
| Spring Boot | 프로젝트 생성, 실행하기 (0) | 2020.12.20 |
| SpringBoot | java.lang.IllegalArgumentException (0) | 2020.11.17 |


